The secret weapon for documenting your motorsports adventures is in your pocket!
By Virgil Knapp
Virgil Knapp is a freelance motorsports photographer and writer.
April 12, 2023
Want to capture the blinding sun, glistening snow, and every action shot without a blur? No problem. Not that long ago, the only way to achieve quality photos while out on your bike, sled, or ATV was in the form of a digital single-lens reflex camera—commonly called a DSLR. In layman’s terms, this is a dedicated 35mm camera with interchangeable lenses.
Thanks in part to the rapid expansion of technology, the phones we now all carry in our pockets are quite capable of documenting all your motorsports adventures. Despite the staggering number of cell phone cameras in existence—there were about 4.7 billion mobile phone users worldwide in 2017—a much smaller percentage of the population truly understands how their cameras work. People will post hundreds, if not thousands, of photographs and videos without ever really knowing their device's capability.
With that said, I’ve created a guide to help you maximize social media posts and take your mobile phone photos—and video—to the next level. Try these tips for capturing your latest motorsports adventure. Impress fellow riders—and those not yet in the know.
I use an iPhone and thus am most familiar with the Apple interface, but other devices such as Samsung or Google will have similar features.
1. Get familiar with the exposure lock
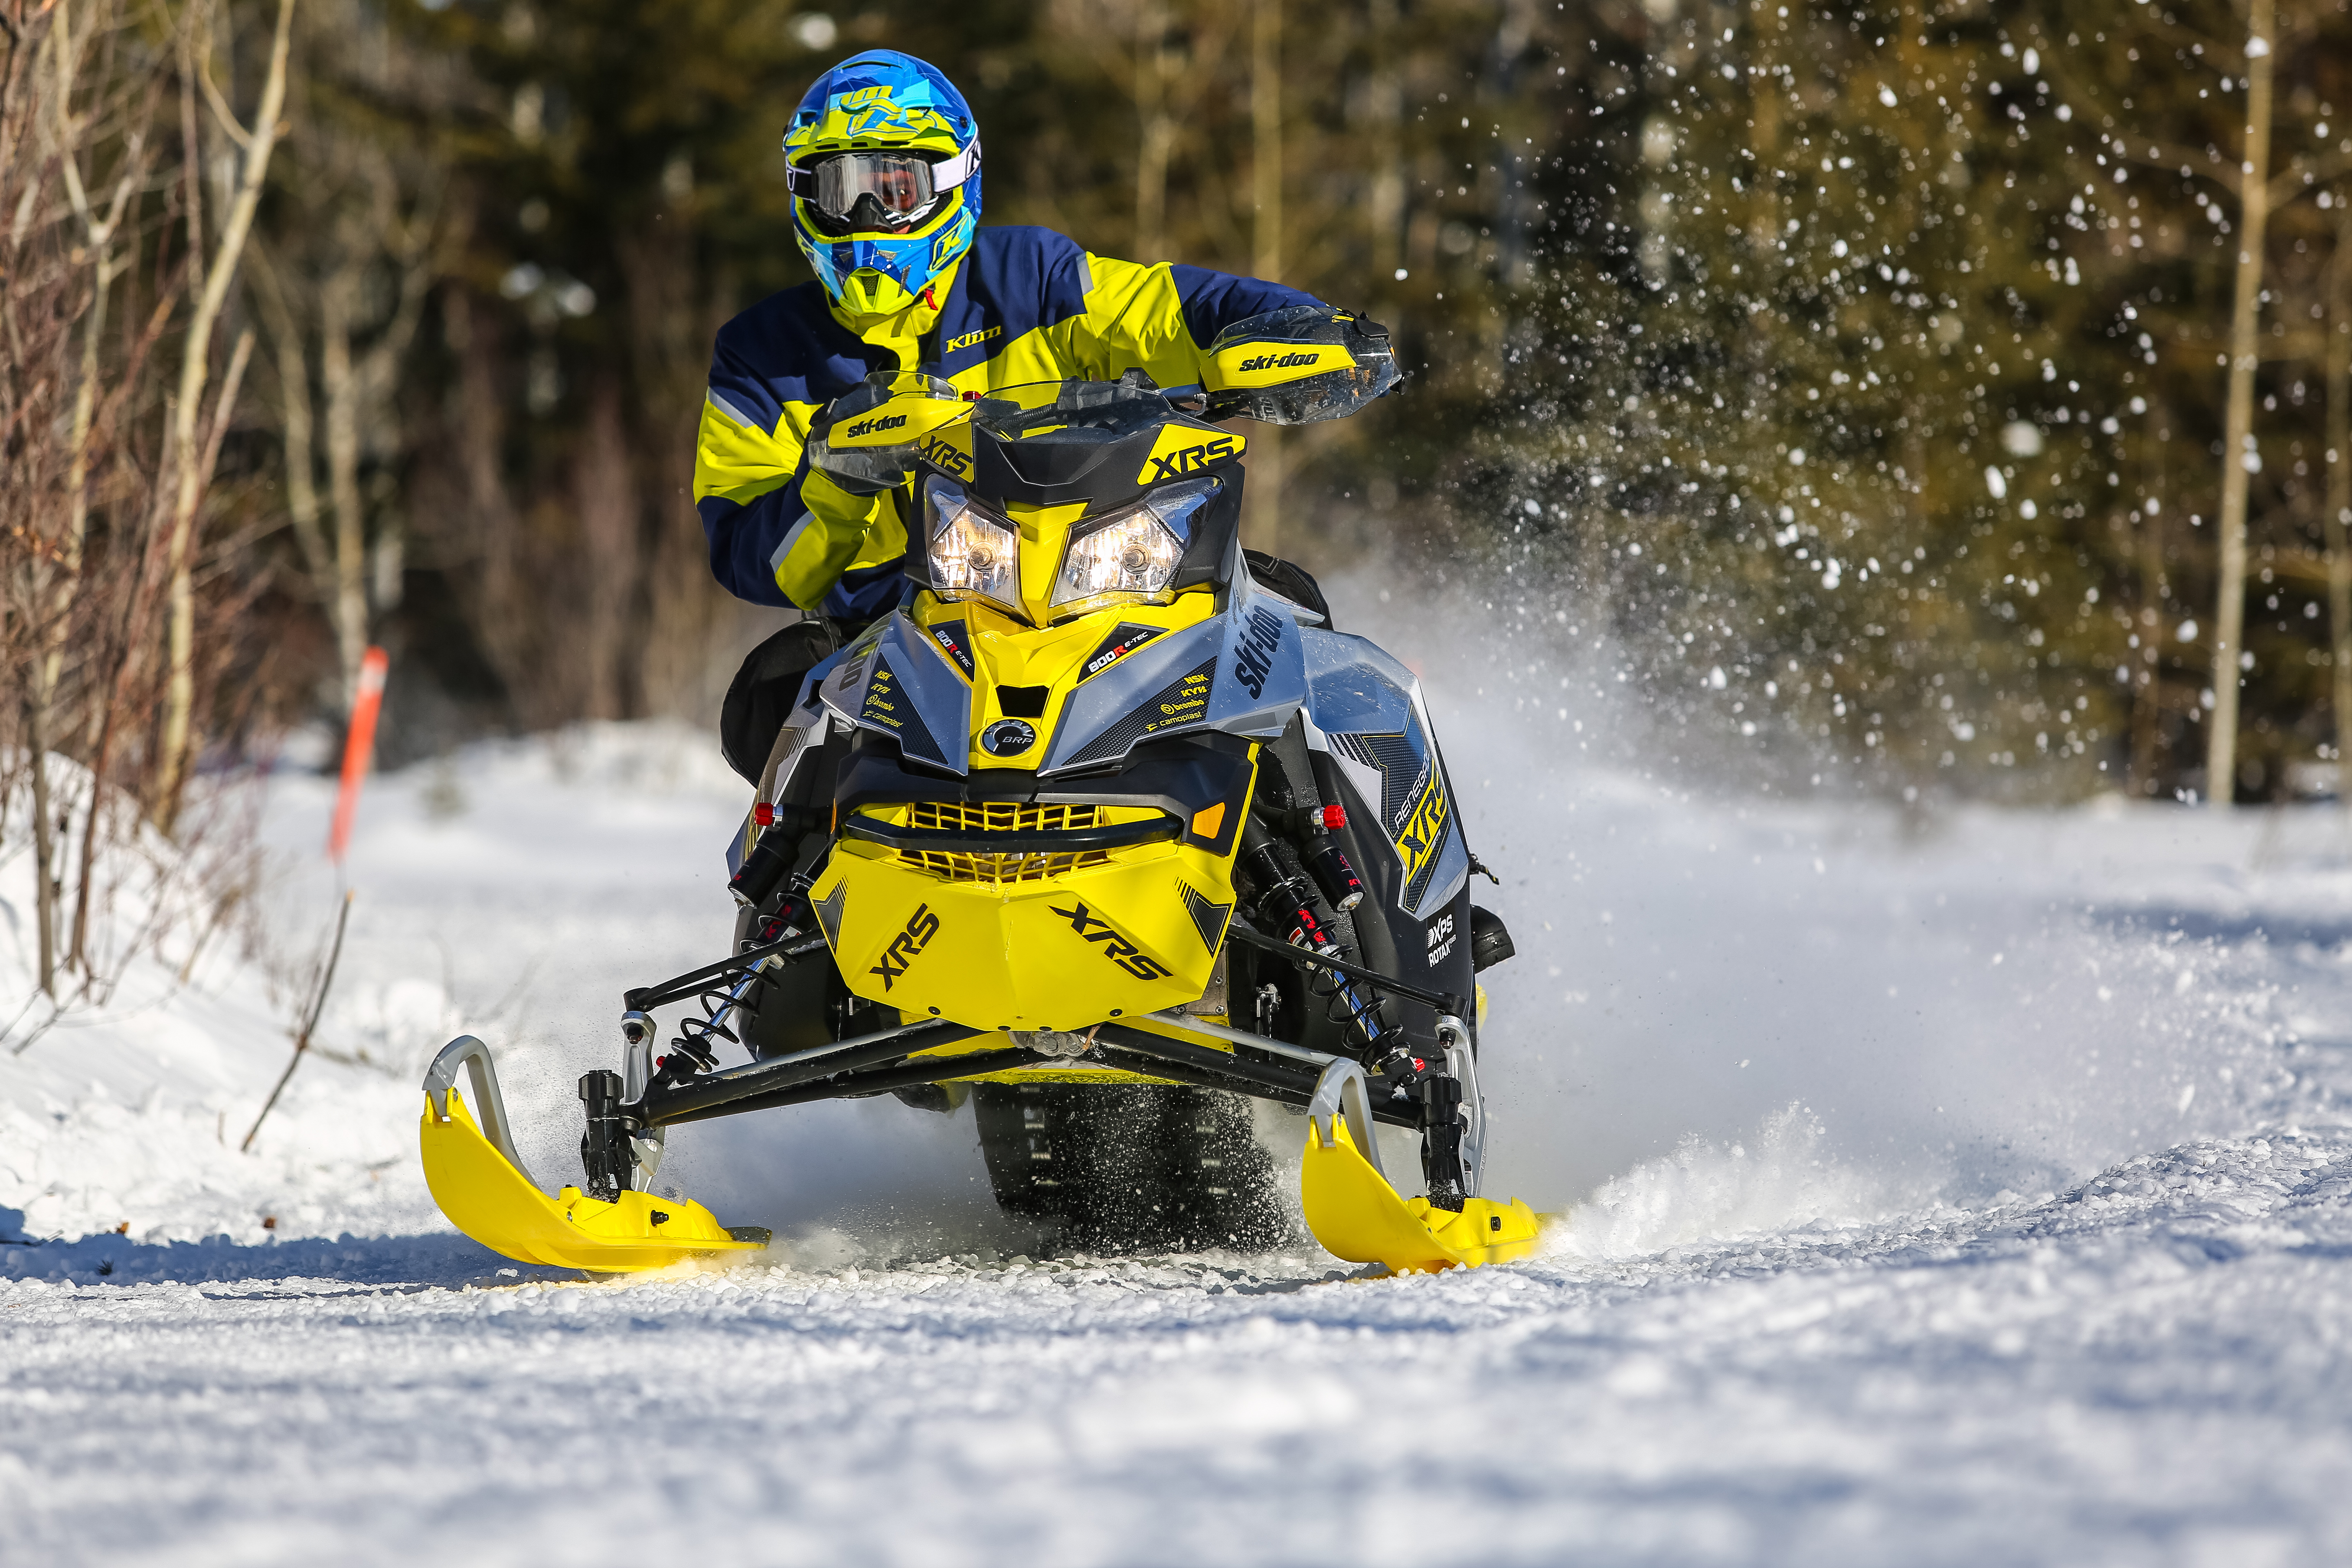
While the auto-exposure on the cameras of most newer phones is fairly good, certain situations arise where taking control of manual exposure is necessary. This can be done by holding down your finger on the screen in a specific spot. The camera’s light meter will lock onto that exposure. This is handy in a tricky lighting situation like bright background/dark foreground.
For example: if you want to take a landscape picture of a sled with a setting sun, the camera’s light meter will often read the exposure of the horizon, leaving the sled completely dark. If you lock exposure on the sled, or somewhere in-between, a much more balanced photo will appear.
2. use hdr
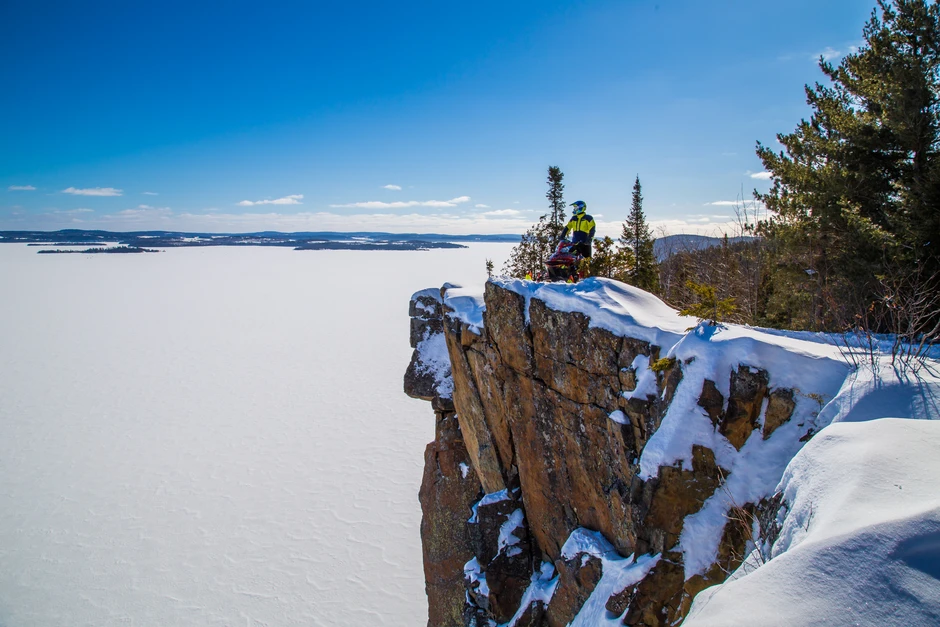
This might surprise some of you, but the human eye is far superior to what any expensive camera can produce. Our eyes are capable of seeing a great variance in dark to light scenes (this is called exposure latitude), but cameras can’t do this in one photograph. High Dynamic Range (HDR) allows our cameras to create images that more closely resemble what our eyes see. HDR is a native setting on an iPhone’s camera app that basically takes three photos in quick succession, blending the dark, medium, and light parts of the image into one shot. It works surprisingly well without making things look fake and overly filtered, like some third-party HDR apps do. The only caveat is that you have to keep the camera relatively still while taking the picture or else it can get blurry.
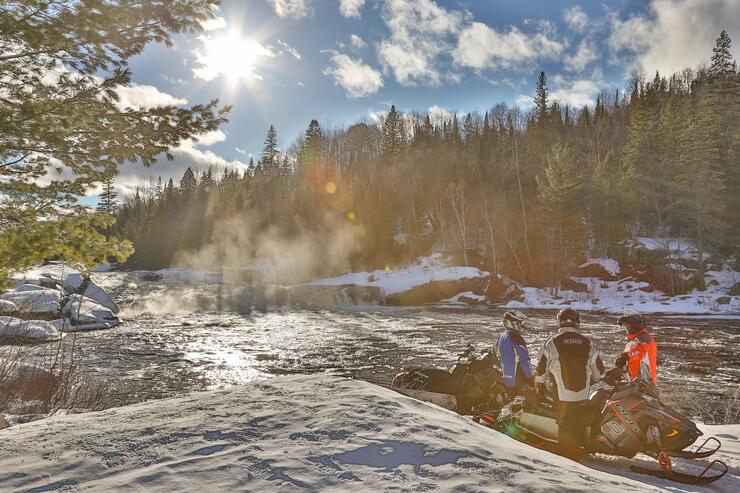
Here you can see the foreground (where the sleds are) and the background (the distant valley) are both properly exposed thanks to HDR.
Unfortunately, this doesn’t work in video mode. Next time you watch outdoor sports you’ll see even the best quality broadcast cameras can’t capture more than one exposure at a time.
3. Bust out your burst mode
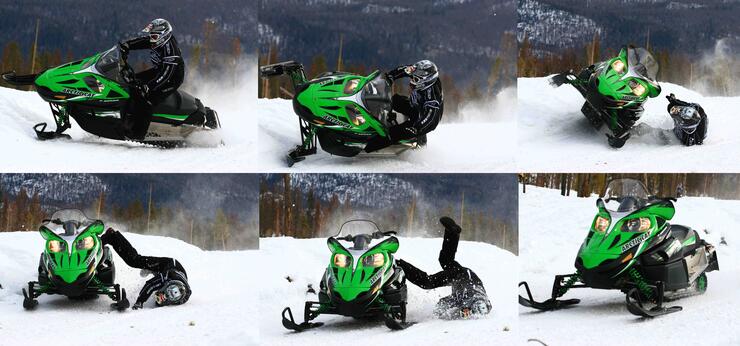
This is one function I don’t think a lot of iPhone users know about. If you only have one chance to get the shot, burst mode is the way to go. By holding down the camera button, your phone will fire off a machine gun-like burst of photos—usually, around 10 is good. Then, go into your photo app and open the picture—it will allow you to select one image and disregard the rest or keep all of them and have a sequence of photos.
Any time a riding partner is trying a technical section where a second run might not be an option, use burst mode to ensure you get a few options to choose from.
4. get panoramic
Another neat feature built into the iPhone camera is the panorama function. It’s quite simple to use and just requires a steady hand to operate. Open the camera, choose “Pano” and slowly pan the scene you want to capture. There will be an arrow and a yellow line. Keep the arrow as close to the line as possible and don’t pan too fast. (You will get a prompt telling you if you’re moving too fast.) The result will be well-worth mastering this technique.
This is useful for times like when you pull up to a breathtaking scenic lookout, but your standard camera lens isn’t wide enough to capture everything the naked eye sees.
5. flow in slo-mo
In addition to still photos, many phones take some quality video. Most built-in cameras are now 1080p HD or 4K (two times the resolution of HD), with some even going beyond 4K! One of the best features, in my opinion, is slow motion. You can make any action shot look like an art film by capturing it in slow mo. The newer iPhones do this extremely well, provided there is ample light. (Slow motion requires more light to due to the higher frame rate used.) It also works as a great tool for analyzing your riding technique.
My preferred time to use “slow mo” is out on the trails riding sleds. It works great around sweeping corners, where you’ll capture every detail right down to the snow dust.
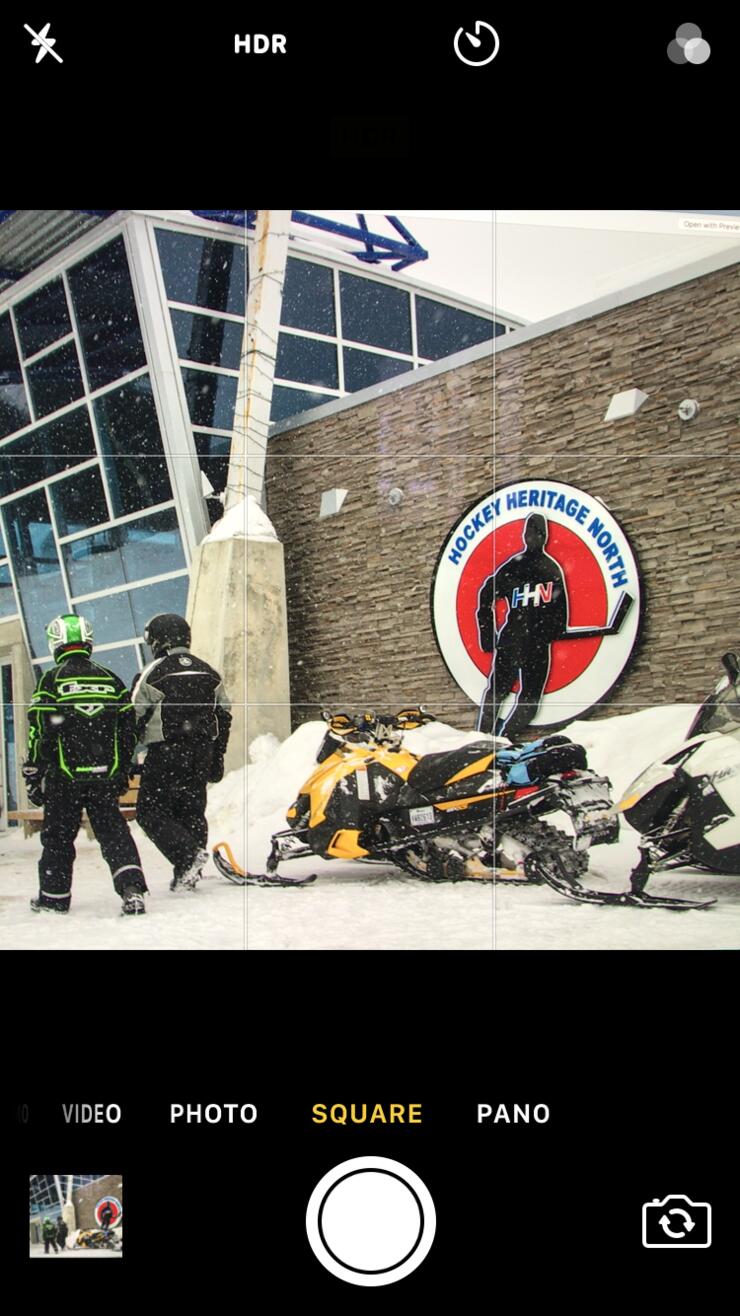
6. be there and be square
When posting to Instagram using the “square” feature, the app uses a square format so your regular photos are cropped. Thankfully Apple paid attention to this and made a square setting in the camera app, so you can shoot with Instagram in mind and know exactly how your shot will look.
Note: there are third-party apps like Instasize that can resize your photo to Instagram format without cropping it, but I’ve found it’s much easier to just shoot it in the right format the first time.
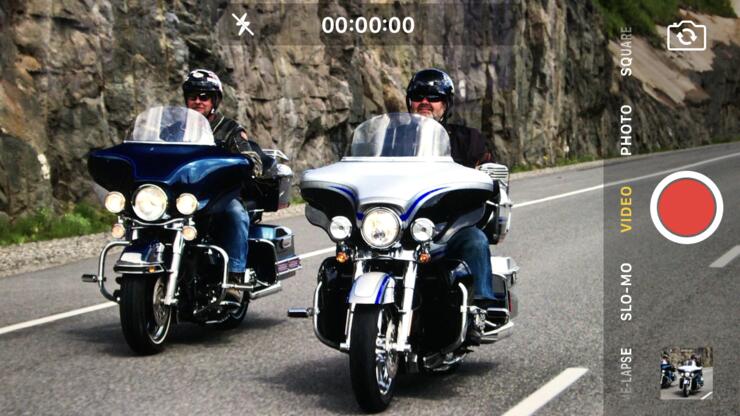
7. Shoot video in landscape mode
Perhaps the most basic thing that many get wrong is recording video without turning their phones horizontally. Next time you’re scrolling through YouTube, take note of how many videos are shot in the wrong viewing format. Because we hold our cell phones vertically when using them, it’s natural to want to shoot video this way. But because computer monitors and TVs are displayed in wide format, video should be shot like this as well.
Simply turn your phone horizontally prior to pressing the record button. That way, people (including you) will be able to see every turn, trick, and bit of scenery as well as possible.
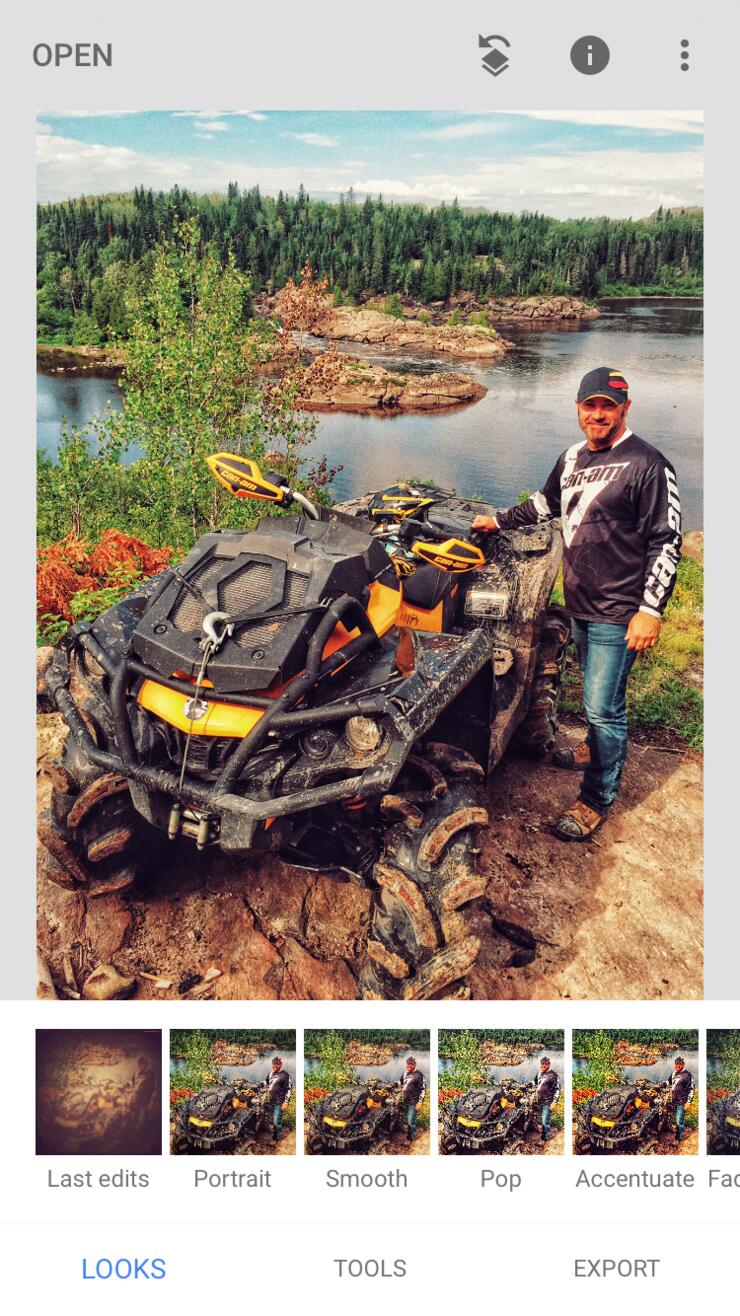
8. Post Process
Perhaps as important as how you take your photos are the finishing touches you should be putting on your photos before posting them. Especially with phone photos, this can be the difference between a shot looking amateur or professional. The app I like to use for all my post processing is called Snapseed. It’s made by Google and is free to download. It has just about every adjustment you can think of and works with sliders that are controlled with a swipe of a finger.
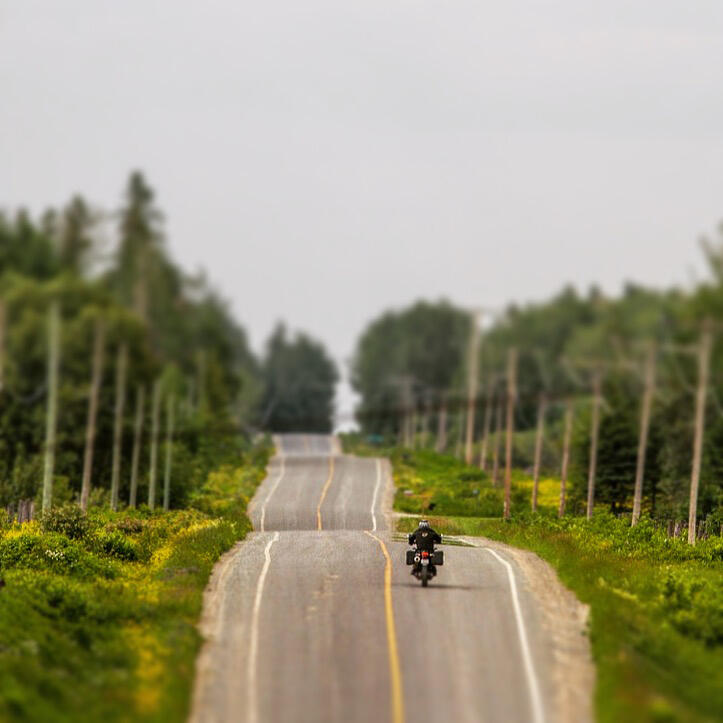
While I don’t treat every photo the same, there are some basic things that should never be overlooked. Punching up contrast, saturation, and sharpening are three musts. Playing with the white balance, which warms or cools the look of the photo, is also a big one. Selective focus is one of my faves and can really make a photo look like it was shot with a much more expensive DSLR camera.
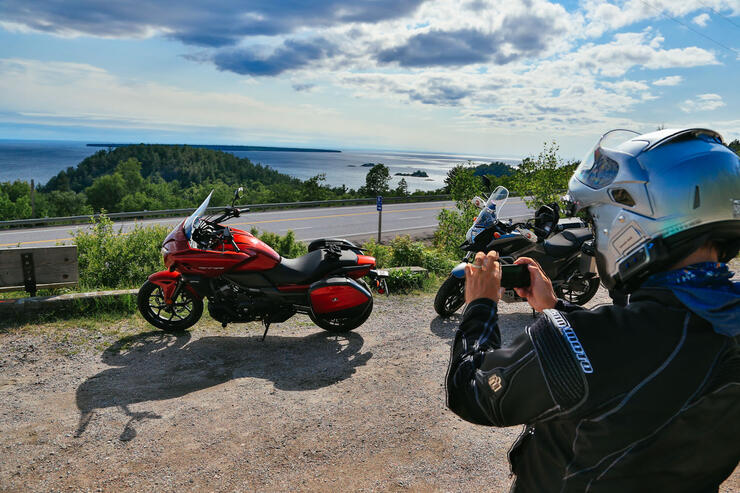
While all your photos warrant some basic post-processing, the selective focus tool is especially a great tool for drawing the viewer’s attention to one part of the image. As you can see here, I kept the plane of focus where the bike is and everything else is blurry. This created a miniature effect that I really liked the look of.
One of the great things about photography is that it’s based on creativity, not hard and fast rules. While my goal with this guide is to help you unlock your own creative potential when it comes to documenting and sharing your motorsports excursions, there is no right or wrong way to take a photo and post it. Just like with riding, the name of the game is having fun!